Fury on minikube
This step-by-step tutorial helps you deploy a subset of the Kubernetes Fury Distribution on a local minikube cluster.
This tutorial covers the following steps:
- Deploy a local minikube cluster.
- Download the latest
furyctlCLI. - Install Fury distribution using
furyctlCLI. - Explore some features of the distribution.
- Teardown the environment.
☁️ If you prefer trying Fury in a cloud environment, check out the Fury on EKS tutorial.
The goal of this tutorial is to introduce you to the main concepts of KFD and how to work with its tooling.
Prerequisites
This tutorial assumes some basic familiarity with Kubernetes.
To follow this tutorial, you need:
- minikube - follow the installation guide. This guide is based on minikube with the VirtualBox driver. You can also run the minikube cluster with other drivers.
- kubectl - to interact with the cluster.
Setup and initialize the environment
-
Open a terminal
-
Clone the fury getting started repository containing all the example code used in this tutorial:
git clone https://github.com/sighupio/fury-getting-started/
cd fury-getting-started/fury-on-minikube
Step 1 - Start the minikube cluster
- Start minikube cluster:
export REPO_DIR=$PWD
export KUBECONFIG=$REPO_DIR/kubeconfig
minikube start --vm-driver=virtualbox --kubernetes-version v1.27.1 --memory=16384m --cpus=6
⚠️ This command will spin up by default a single-node Kubernetes v1.27.1 cluster, using VirtualBox driver, with 6 CPUs, 16GB RAM and 20 GB Disk.
- Test the connection to the minikube cluster:
kubectl get nodes
Output:
NAME       STATUS   ROLES           AGE    VERSION
minikube   Ready    control-plane   104s   v1.27.1
Step 3 - Install furyctl
Install furyctl binary: https://github.com/sighupio/furyctl#installation version >=0.27.1.
Step 3 - Installation
In this directory, an example furyctl.yaml file is present.
furyctl will use the provider KFDDistribution that will install only the Distribution on top of an existing cluster.
apiVersion: kfd.sighup.io/v1alpha2
kind: KFDDistribution
metadata:
  name: fury-local
spec:
  distributionVersion: v1.27.1
  distribution:
    modules:
      networking:
        type: none
      ingress:
        baseDomain: internal.demo.example.dev
        nginx:
          type: single
          tls:
            provider: certManager
        certManager:
          clusterIssuer:
            name: letsencrypt-fury
            email: example@sighup.io
            type: http01
      logging:
        type: loki
      monitoring:
        alertmanager:
          deadManSwitchWebhookUrl: ""
          slackWebhookUrl: ""
      policy:
        type: none
      dr:
        type: none
        velero: {}
      auth:
        provider:
          type: none
    customPatches:
      patchesStrategicMerge:
        - |
          $patch: delete
          apiVersion: logging-extensions.banzaicloud.io/v1alpha1
          kind: HostTailer
          metadata:
            name: systemd-common
            namespace: logging
        - |
          $patch: delete
          apiVersion: logging-extensions.banzaicloud.io/v1alpha1
          kind: HostTailer
          metadata:
            name: systemd-etcd
            namespace: logging
        - |
          $patch: delete
          apiVersion: apps/v1
          kind: DaemonSet
          metadata:
            name: x509-certificate-exporter-control-plane
            namespace: monitoring
In this example, we are installing the distribution with the following options:
- No CNI installation, minikube comes with a CNI by default
- A single battery of nginx
- Loki as storage for the logs
- No gatekeeper installation
- No velero and DR installation
- No Auth on the ingresses
- Disabled some logging extensions due to minikube incompatibilities
- Disabled master certificate-exporter, due to minikube incompatibilities
Execute the installation with furyctl:
furyctl create cluster --outdir $PWD
⏱ The process will take some minutes to complete, you can follow the progress in detail by running the following command:
tail -f .furyctl/furyctl.<timestamp>-<random-id>.log | jq
--outdirflag is used to define in which directory to create the hidden.furyctlfolder that contains all the required files to install the cluster. If not provided, a.furyctlfolder will be created in the user home.
The output should be similar to the following:
INFO Downloading distribution...
INFO Validating configuration file...
INFO Downloading dependencies...
INFO Validating dependencies...
INFO Installing Kubernetes Fury Distribution...
INFO Checking that the cluster is reachable...
INFO Checking if at least one storage class is available...
INFO Checking if all nodes are ready...
INFO Applying manifests...
INFO Saving furyctl configuration file in the cluster...
INFO Saving distribution configuration file in the cluster...
INFO Kubernetes Fury Distribution installed successfully
🚀 The (subset of the) distribution is finally deployed! In this section you will explore some of its features.
Step 4 - Explore the distribution
Setup local DNS
In Step 3, alongside the distribution, you have deployed Kubernetes ingresses to expose underlying services at the following HTTP routes:
directory.internal.demo.example.devgrafana.internal.demo.example.devprometheus.internal.demo.example.dev
To access the ingresses more easily via the browser, configure your local DNS to resolve the ingresses to the external minikube IP:
ℹ️ the following commands should be executed in another terminal of your host. Not inside the fury-getting-started container.
- Get the address of the cluster IP:
minikube ip
<SOME_IP>
- Add the following line to your local
/etc/hosts:
<SOME_IP> directory.internal.demo.example.dev grafana.internal.demo.example.dev prometheus.internal.demo.example.dev
Now, you can reach the ingresses directly from your browser.
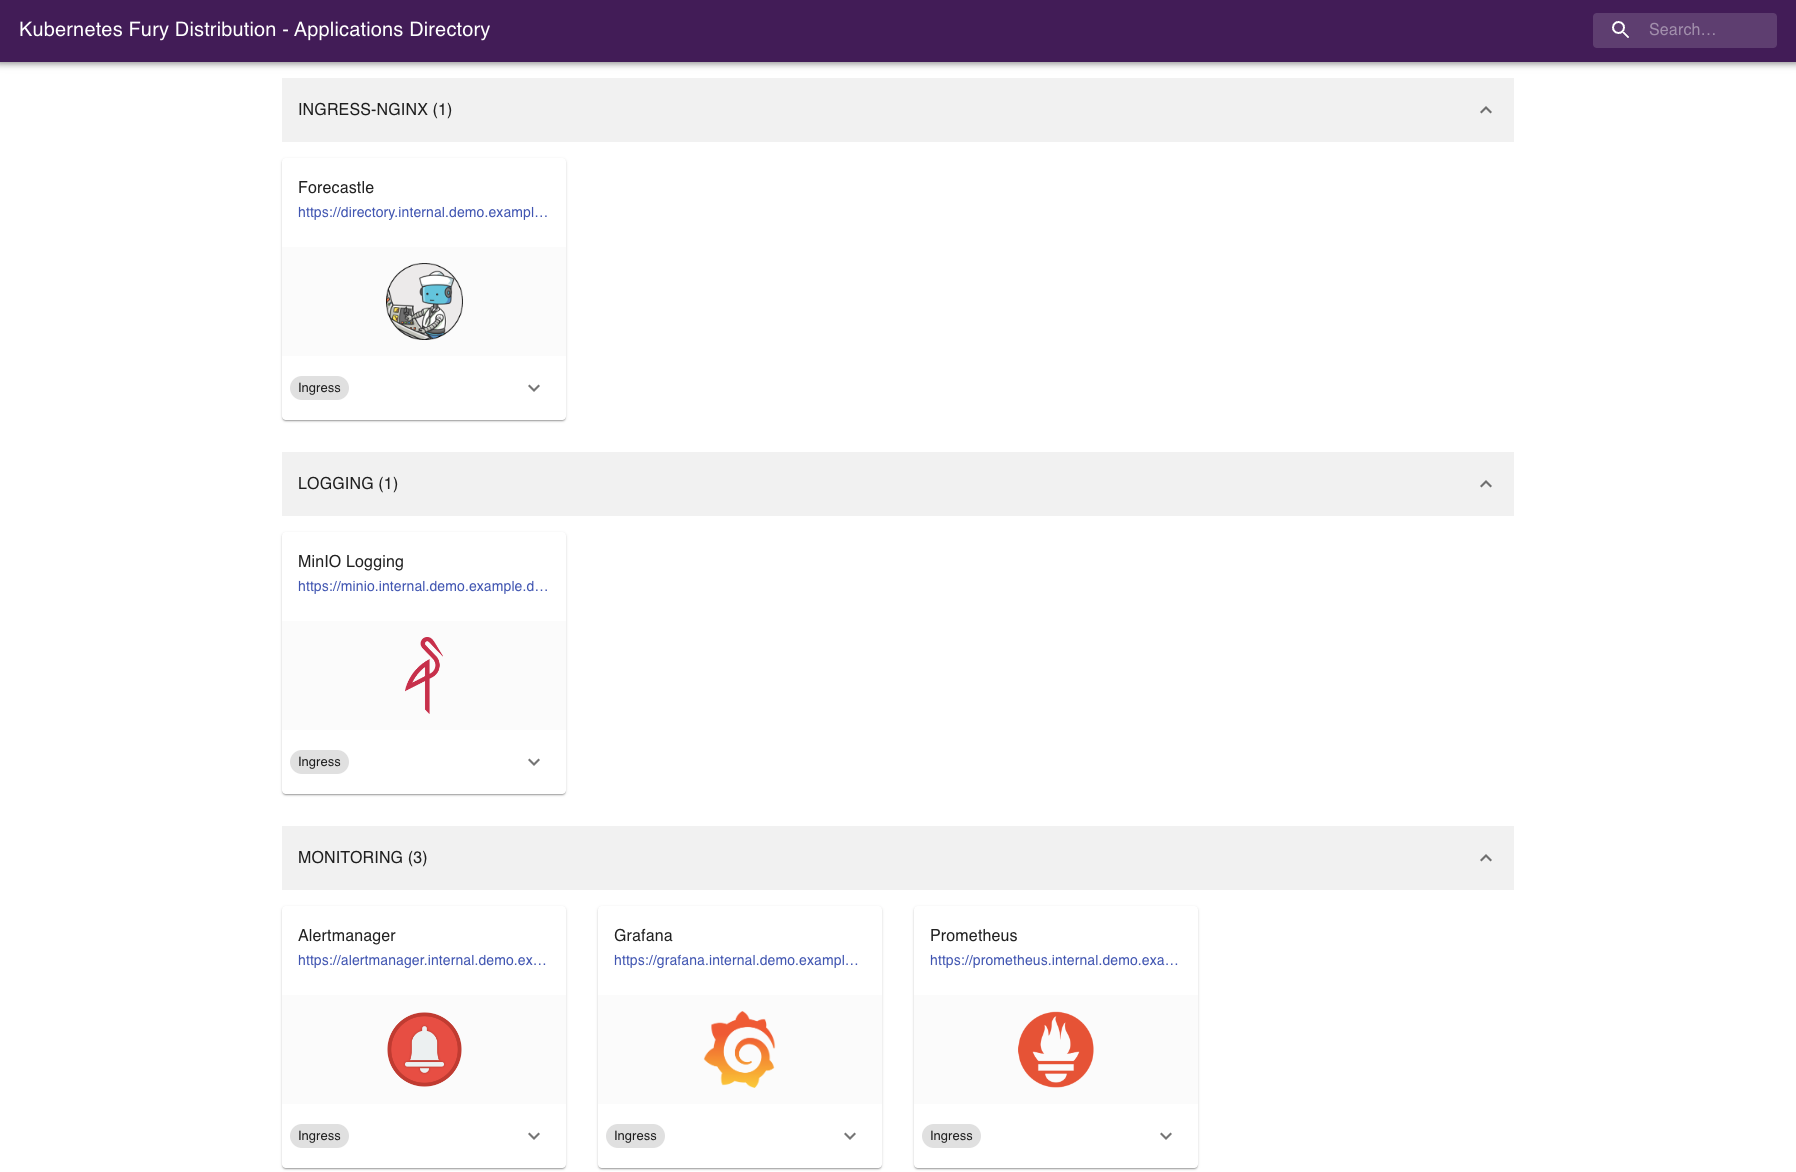
Forecastle
Forecastle is an open-source control panel where you can access all exposed applications running on Kubernetes.
Navigate to https://directory.fury.info:31443 to see all the other ingresses deployed, grouped by namespace.
Grafana
Grafana is an open-source platform for monitoring and observability. Grafana allows you to query, visualize, alert, and understand your metrics.
Navigate to https://grafana.internal.demo.example.dev:31443 or click the Grafana icon from Forecastle (remember to append the port 31443 to the url).
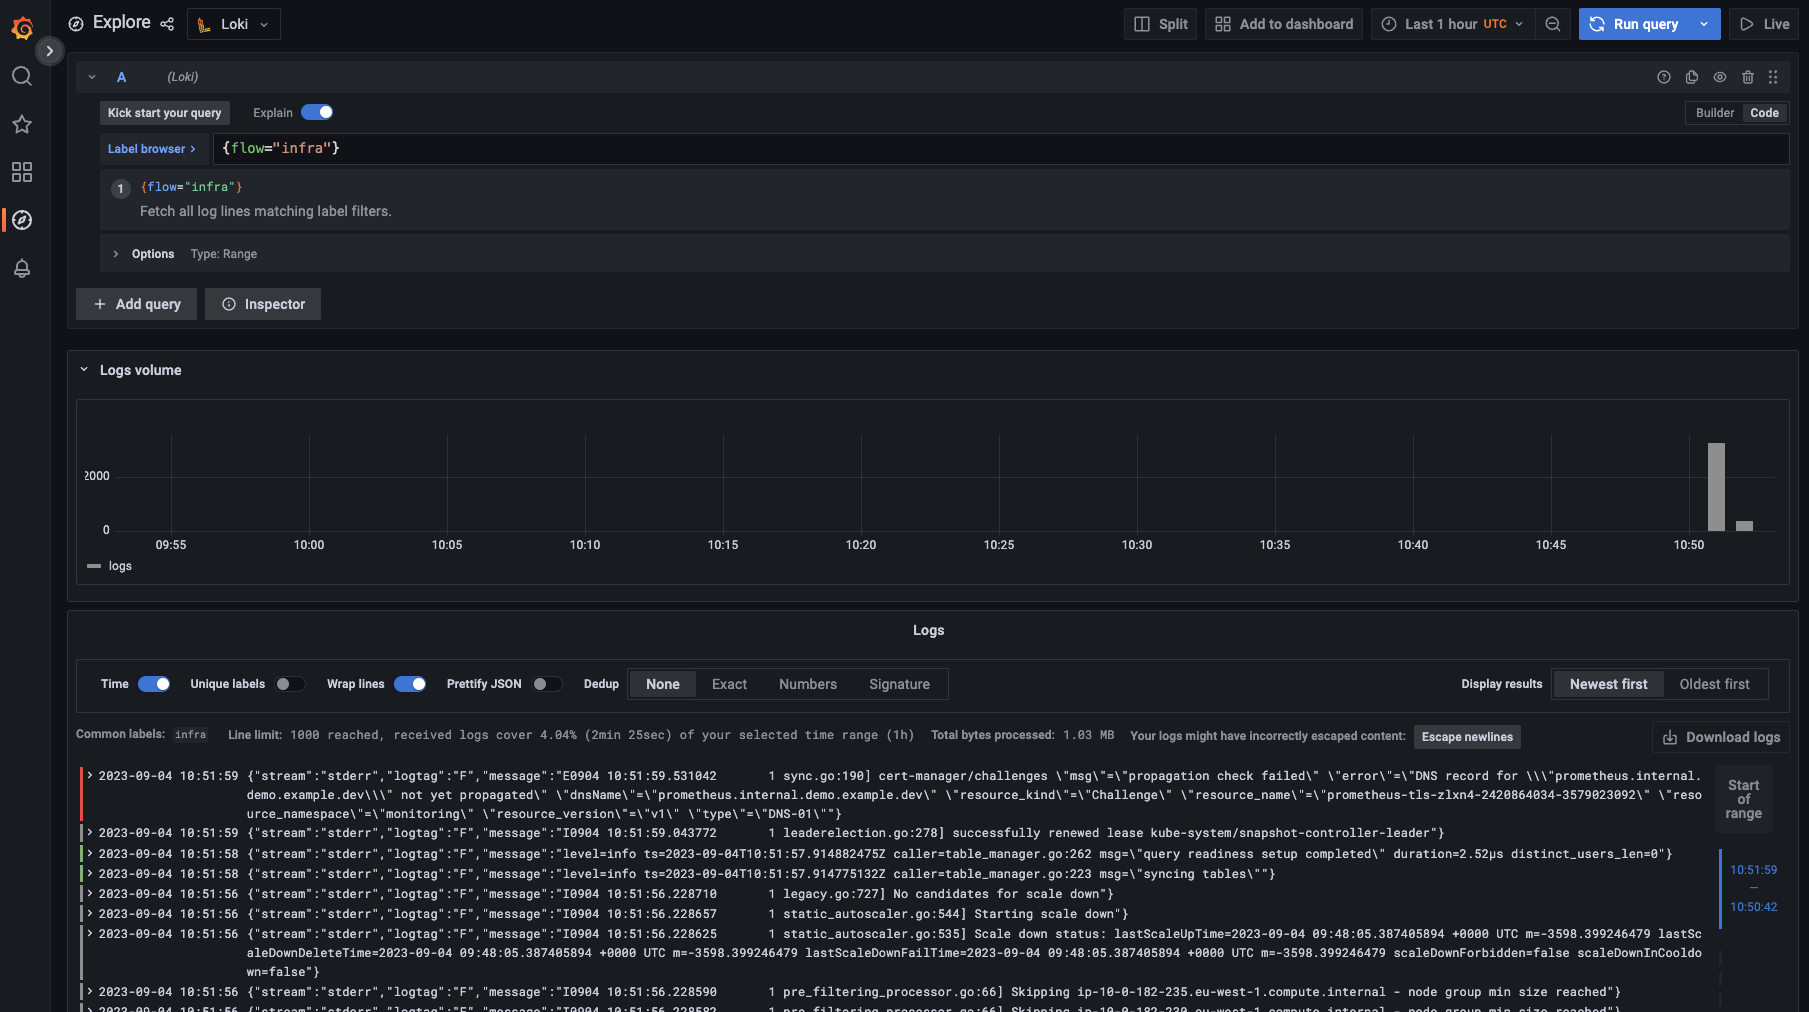
Discover the logs
Navigate to grafana, and:
- Click on explore
- Select Loki datasource
- Run your query!
This is what you should see:
Discover dashboards
Fury provides some pre-configured dashboards to visualize the state of the cluster. Examine an example dashboard:
- Click on the search icon on the left sidebar.
- Write
podsand click enter. - Select the
Kubernetes/Podsdashboard.

Make sure to select a namespace that has pods running and then select one of those pods.
Take a look around and test the other dashboards available.
Step 6 - Tear down
- Delete the minikube cluster:
minikube delete
Conclusions
Congratulations, you made it! 🥳🥳
We hope you enjoyed this tour of Fury!
Issues/Feedback
In case you ran into any problems feel free to open an issue in GitHub.
Where to go next?
More tutorials:
More about Fury: